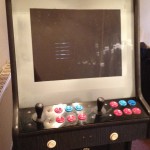
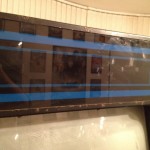
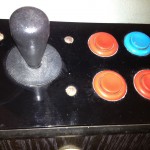
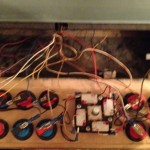
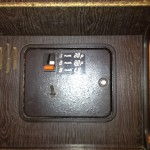
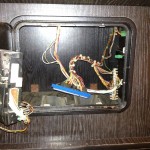
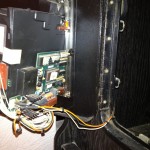
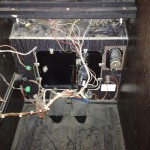
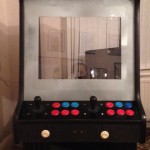
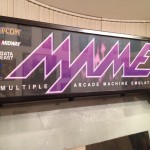
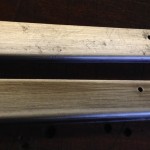
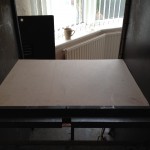
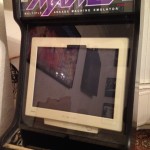
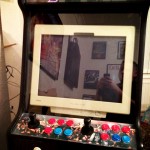
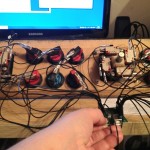
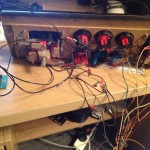
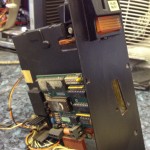
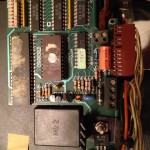
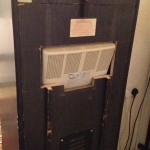
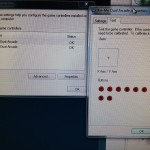
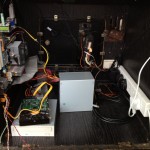
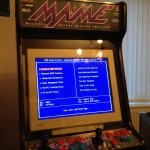
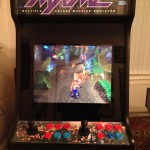
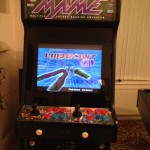
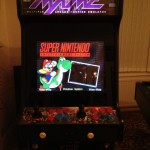
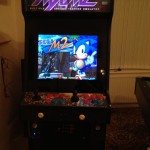
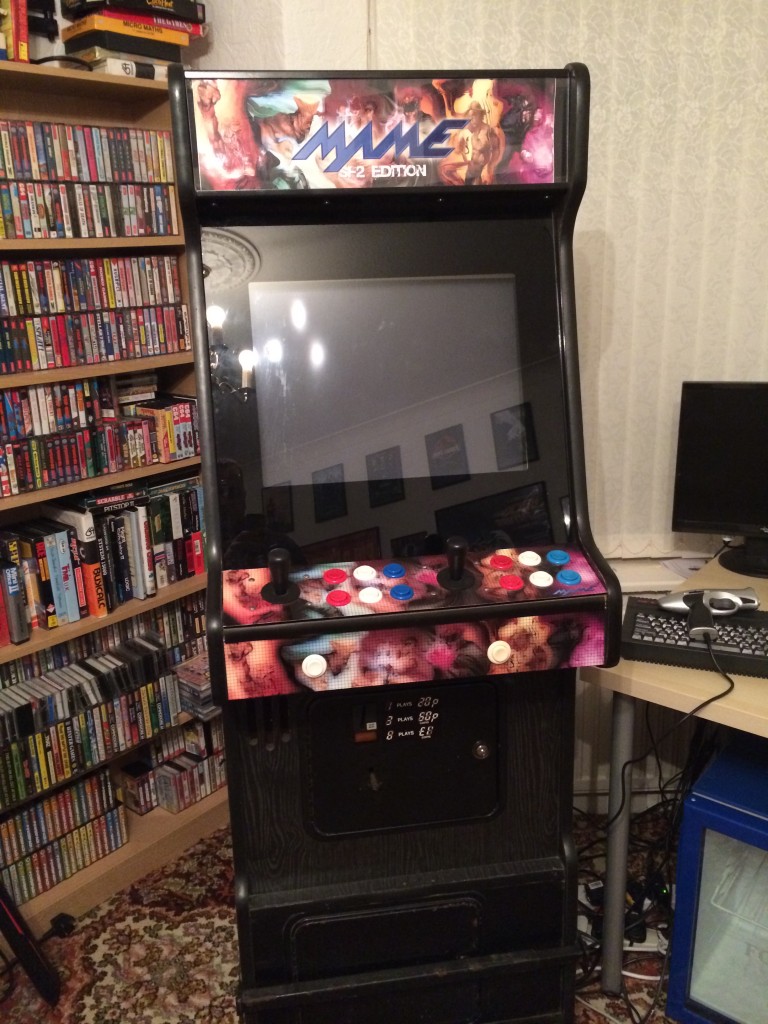
So my excitement got the better of me and I forgot to take pictures before I started taking it apart, but basically the following set of pictures show the cabinet as it arrived, minus the monitor. The first thing I did was remove the monitor because A – it had a bunch of loose cables and a PCB dangling (literally swinging freely, held only by the connectors) and I had no idea where they belonged, and B – the entire cabinet was a little damp, and when it got inside condensation quickly built up over the glass and internals of it.
Minus the broken monitor, these pictures pretty much show how it arrived – which considering it had been neglected for ten years, I didn’t think was too bad at all!
CLEAN UP AND PARTS INSTALLATION
I wont go into too much detail here about what I did, as it will all be mentioned later, but basically the following was done (not in any particular order!):
1 – Removed the original monitor mountings
2 – Removed all the wiring for the original JAMMA boards
3 – Found a 21″ Iiyama CRT monitor on eBay
4 – Installed a 2.5mm thick shelf for a PC monitor to sit
5 – Gathered spare PC parts to run the software
6 – Obtained a USB interface to get input from the original joysticks and buttons
7 – Wired up joystick and buttons to USB interface
8 – Stripped the rusted metal parts and respray them
9 – Found some header artwork online and printed it out
10 – Installed small fluorescent tube light in header area
11 – Get the coin slot working
12 – Installed all the software etc!
13 – Cleaned off the glass bezel and resprayed it black
Pictures taken at different stages of development!
After changing the graphics several times, this is how the first cabinet looked when I had finished with it:
Since by this point I had got a second cabinet, I gave this one away to a friend in exchange for money!
Next: Part 2 – Second Cabinet

